How to Take Screenshots on Windows
We all know that Images Speak Louder Than Words. This is extremely true on cpmputer. When you don't know what to describe a issue, just take a screenshot. Want to write steps, just take a screenshot. When you are with your computer, there are many times that you need to capture a screenshot. Here we will show you 3 tools that allows you to easily capture screnshots on Windows.
Related: How to take screenshots on Mac
Method 1 PrintScreen button
The PrintScreen button is perhaps the most convenient way to take screenshots on Windows. Press the PrScrn button on your keyboard and then open the Paint app, click Paste icon on the top left corner and you will find the screenshot of the whole desktop. Now you can click File - Save or hotkey (Ctrl+S) to save the screenshot. If you want a certain region not the whole desktop, draw a rectangle or free-form to select that region and then click Crop. You can also add lines, shapes or text.

Pros: Easy to use, no need to install.
Cons: not convenient to capture application window.
Method 2 PicPick
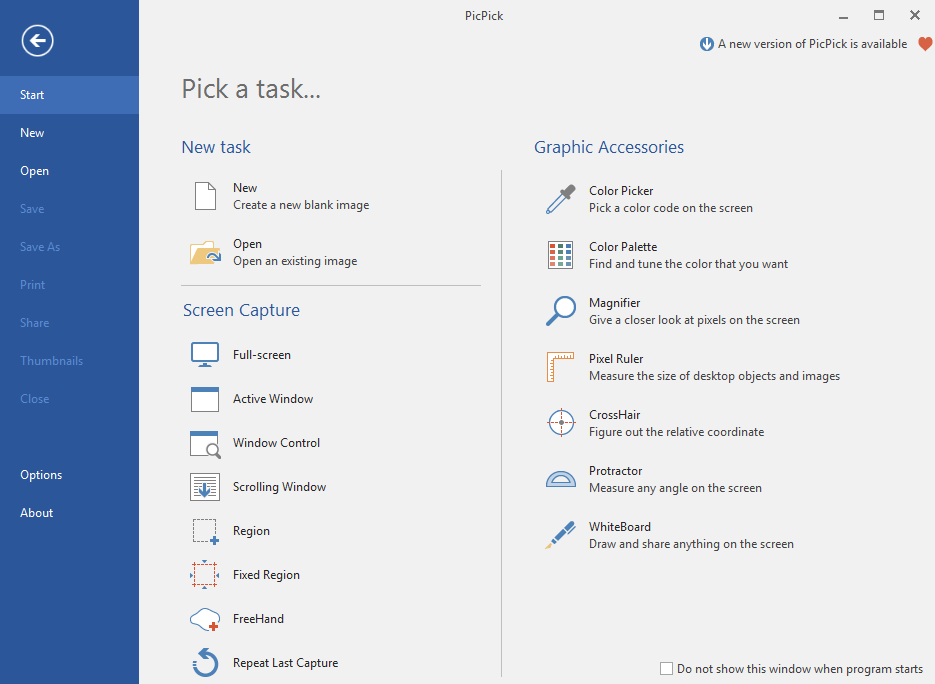
PicPick is a powerful screen capture tool for Windows. From below interface acreenshot you can see it is able to capture full-screen, window, scrolling window, region, freehand. Once you installed the Picpick, the default hotkey for full-screen capture is the Pr Scrn button, so when you click that button, Picpick will be launched and the desktop screenshot appears on it.

Pros: poweful and essy to use.
Capture all kinds of screenshot.
3. QQ
QQ is a popular instant messaging service in China. It also able to capture screenshots, which is very convenient when users want to send screenshots to friends. The screenshot appears in the chat window for you to send immediately.
Click below scissor icon and then draw a rectangle on the region you want to capture. A magnifier will appear for you to get precise position. You can also add shape, line, arrow or text to mark the screenshot.


