How to use iTunes music/Apple Music in PowerPoint Presentations
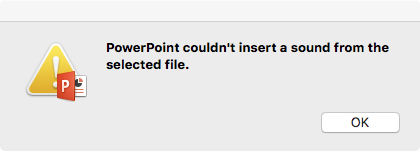
When you are preparing for a powerpoint presentation, a piece of light song you have come across on iTunes several days ago was brought to your mind. That piece of song must be the most suitable background music for the powerpoint. You quickly find that song but your effort ends in failure – you are reminded to pay attention to the file path and format.
Currently, songs you purchased from iTunes Store are in m4a format. PowerPoint does support putting M4A files into your presentations, but PC users need one additional codec by QuickTime so that PowerPoint can convert the files. Mac users already have QuickTime installed, so they can insert the files immediately.
Step 1
Install QuickTime if you do not have it on your computer already. The program is free. This will automatically add the codec.
Step 2
Open your PowerPoint presentation.
Step 3
Go to the page of your presentation where you would like to put the M4A file
Step 4
Select "Sound and Music" from the "Insert" menu and click "From File."
Select the M4A you want and click "Open." It will now appear in your presentation. You can use your mouse to drag it around.
However, if the songs you want to add to Powerpoint is purchased from iTunes before 2009 or songs from Apple Music, you will find that the songs are in DRM-protected M4P format. You can't add them to powerpoint presentations directly.

What you need to do is to convert iTunes M4P music to common MP3 or M4A music. That is so easy if you have got Ondesoft iTunes Converter for Mac . Go to download free trial of the Converter and following is a short tutorial for you to convert iTunes music.
Step 1: Launch iTunes converter
Download and install Ondesoft iTunes Converter on your Mac/Windows.
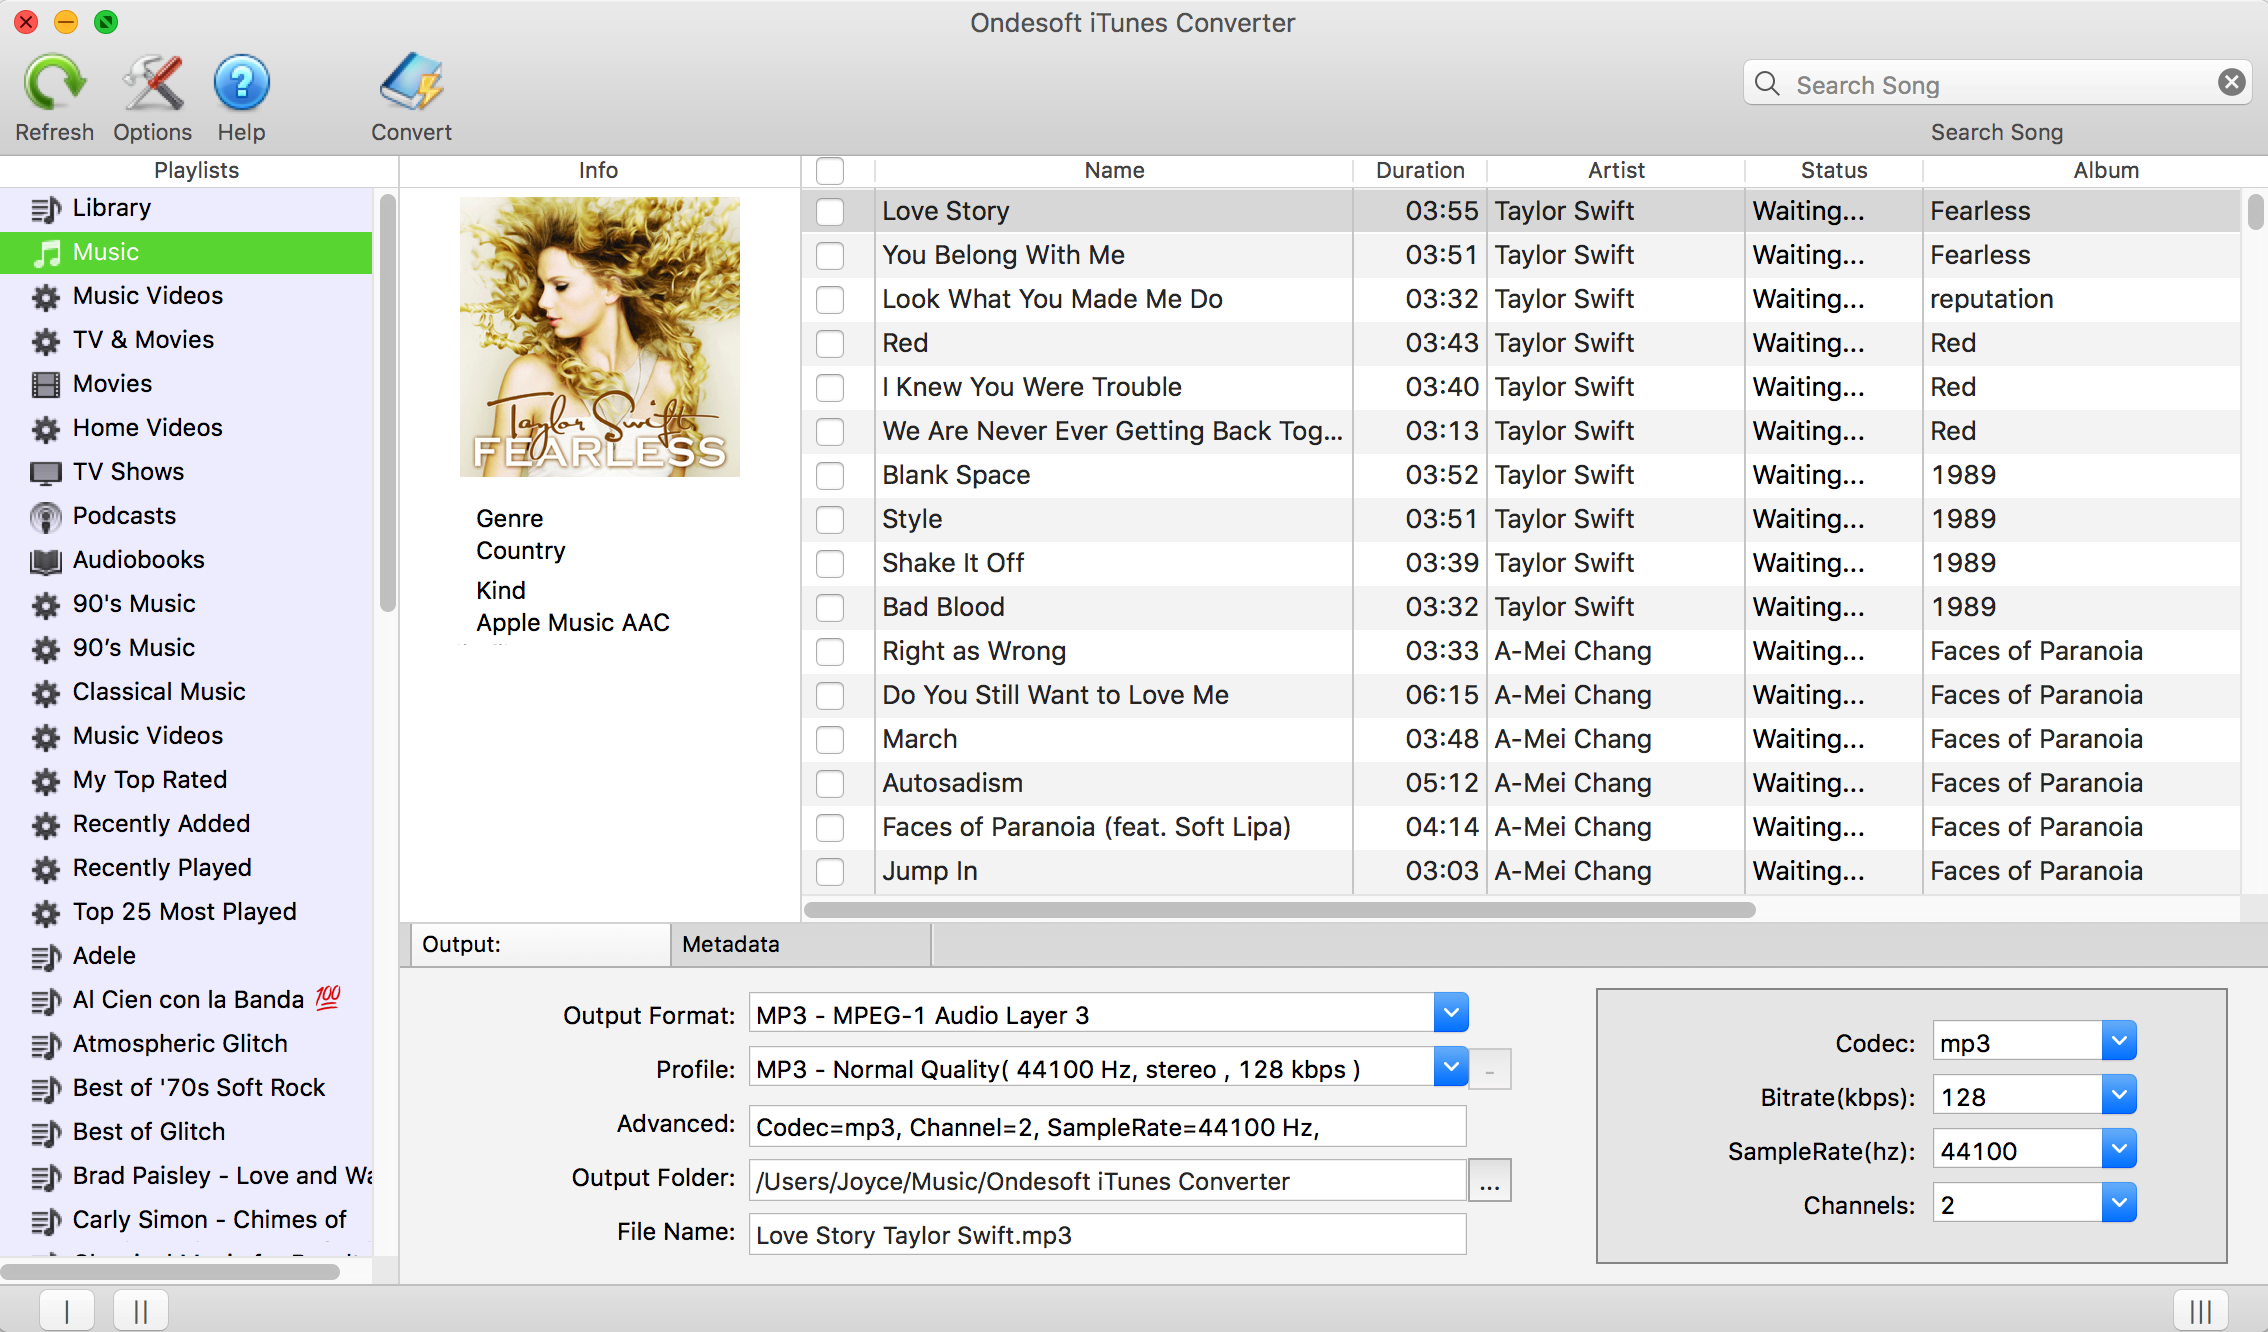
Launch iTunes M4P Converter and iTunes will be launched automatically. iTunes M4P Converter will automatically load your iTunes Library. The interface is shown as below:

Step 2: select M4P music you want to convert
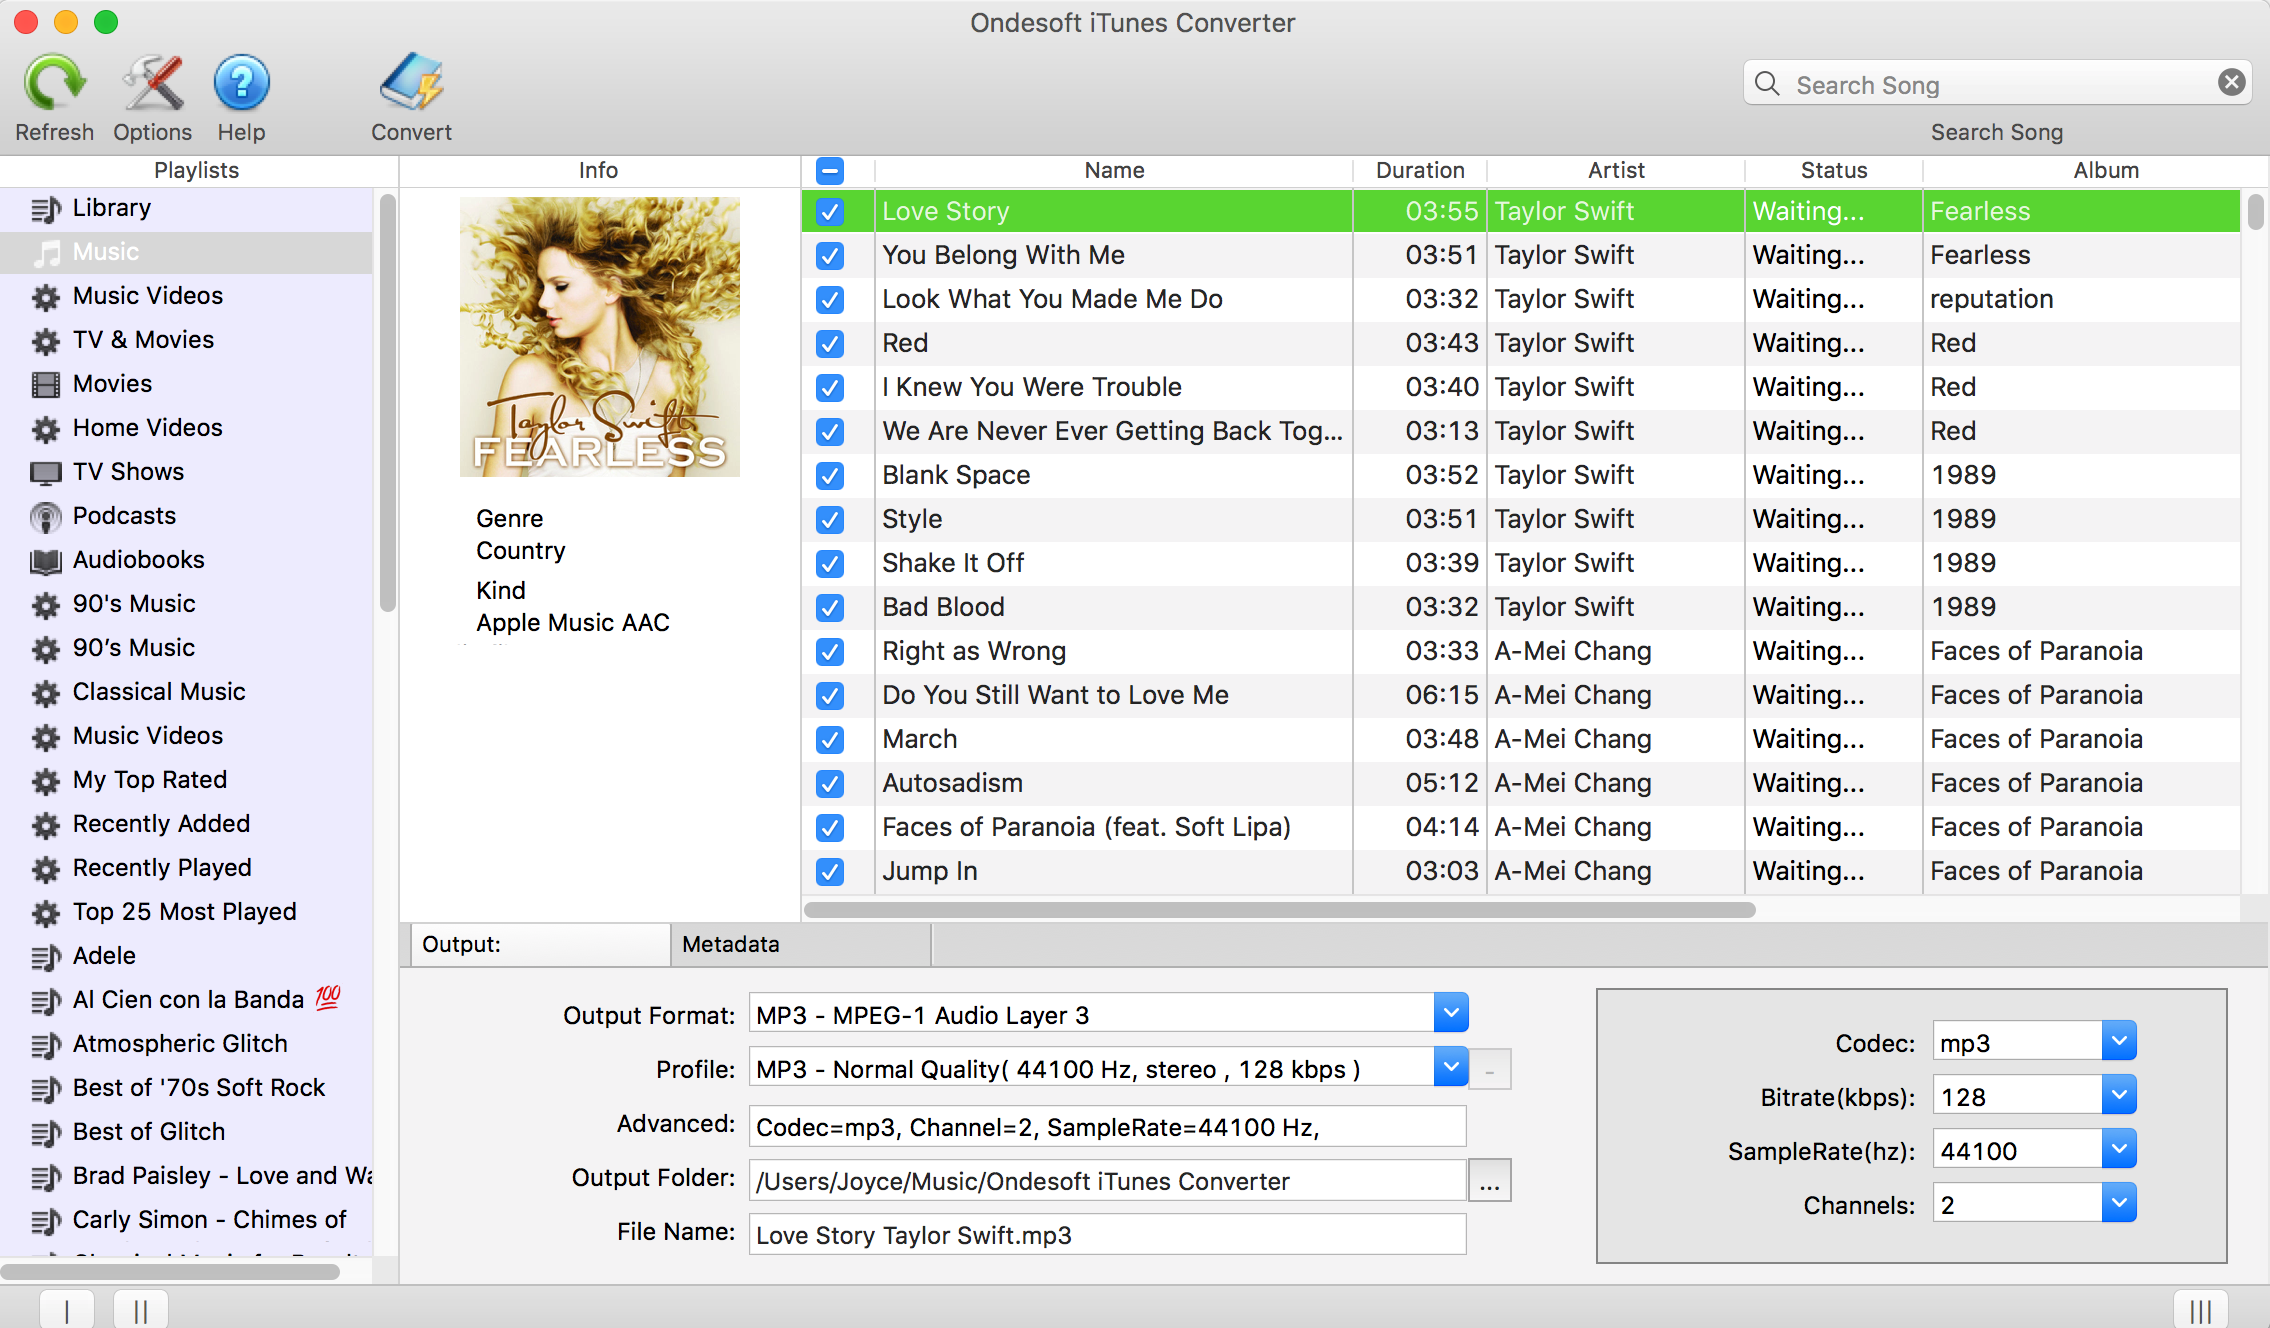
No matter M4P songs purchased from iTunes Store before 2009, M4P audiobooks or Apple Music songs, Ondesoft iTunes Converter can convert them all. Click the checkbox before the songs/audiobooks you want to convert.

Step 3: Ouput settings
Choose MP3 as ouput format. Choose output audio quality from the pre-designed settings or customize bitrate, samplerate as you like.

Click
![]() icon at the top of main interface (or click Ondesoft iTunes Converter - preferences) and a Preferences window will pop up for you to make the settings. You can set the converting speed (up to 16X), output file name format, etc. Also you can choose to save ID tags and metadata information to the output MP3 and M4A files or keep Chapter information in the converted M4A audiobooks.
icon at the top of main interface (or click Ondesoft iTunes Converter - preferences) and a Preferences window will pop up for you to make the settings. You can set the converting speed (up to 16X), output file name format, etc. Also you can choose to save ID tags and metadata information to the output MP3 and M4A files or keep Chapter information in the converted M4A audiobooks.

Step 4: click Convert to start converting
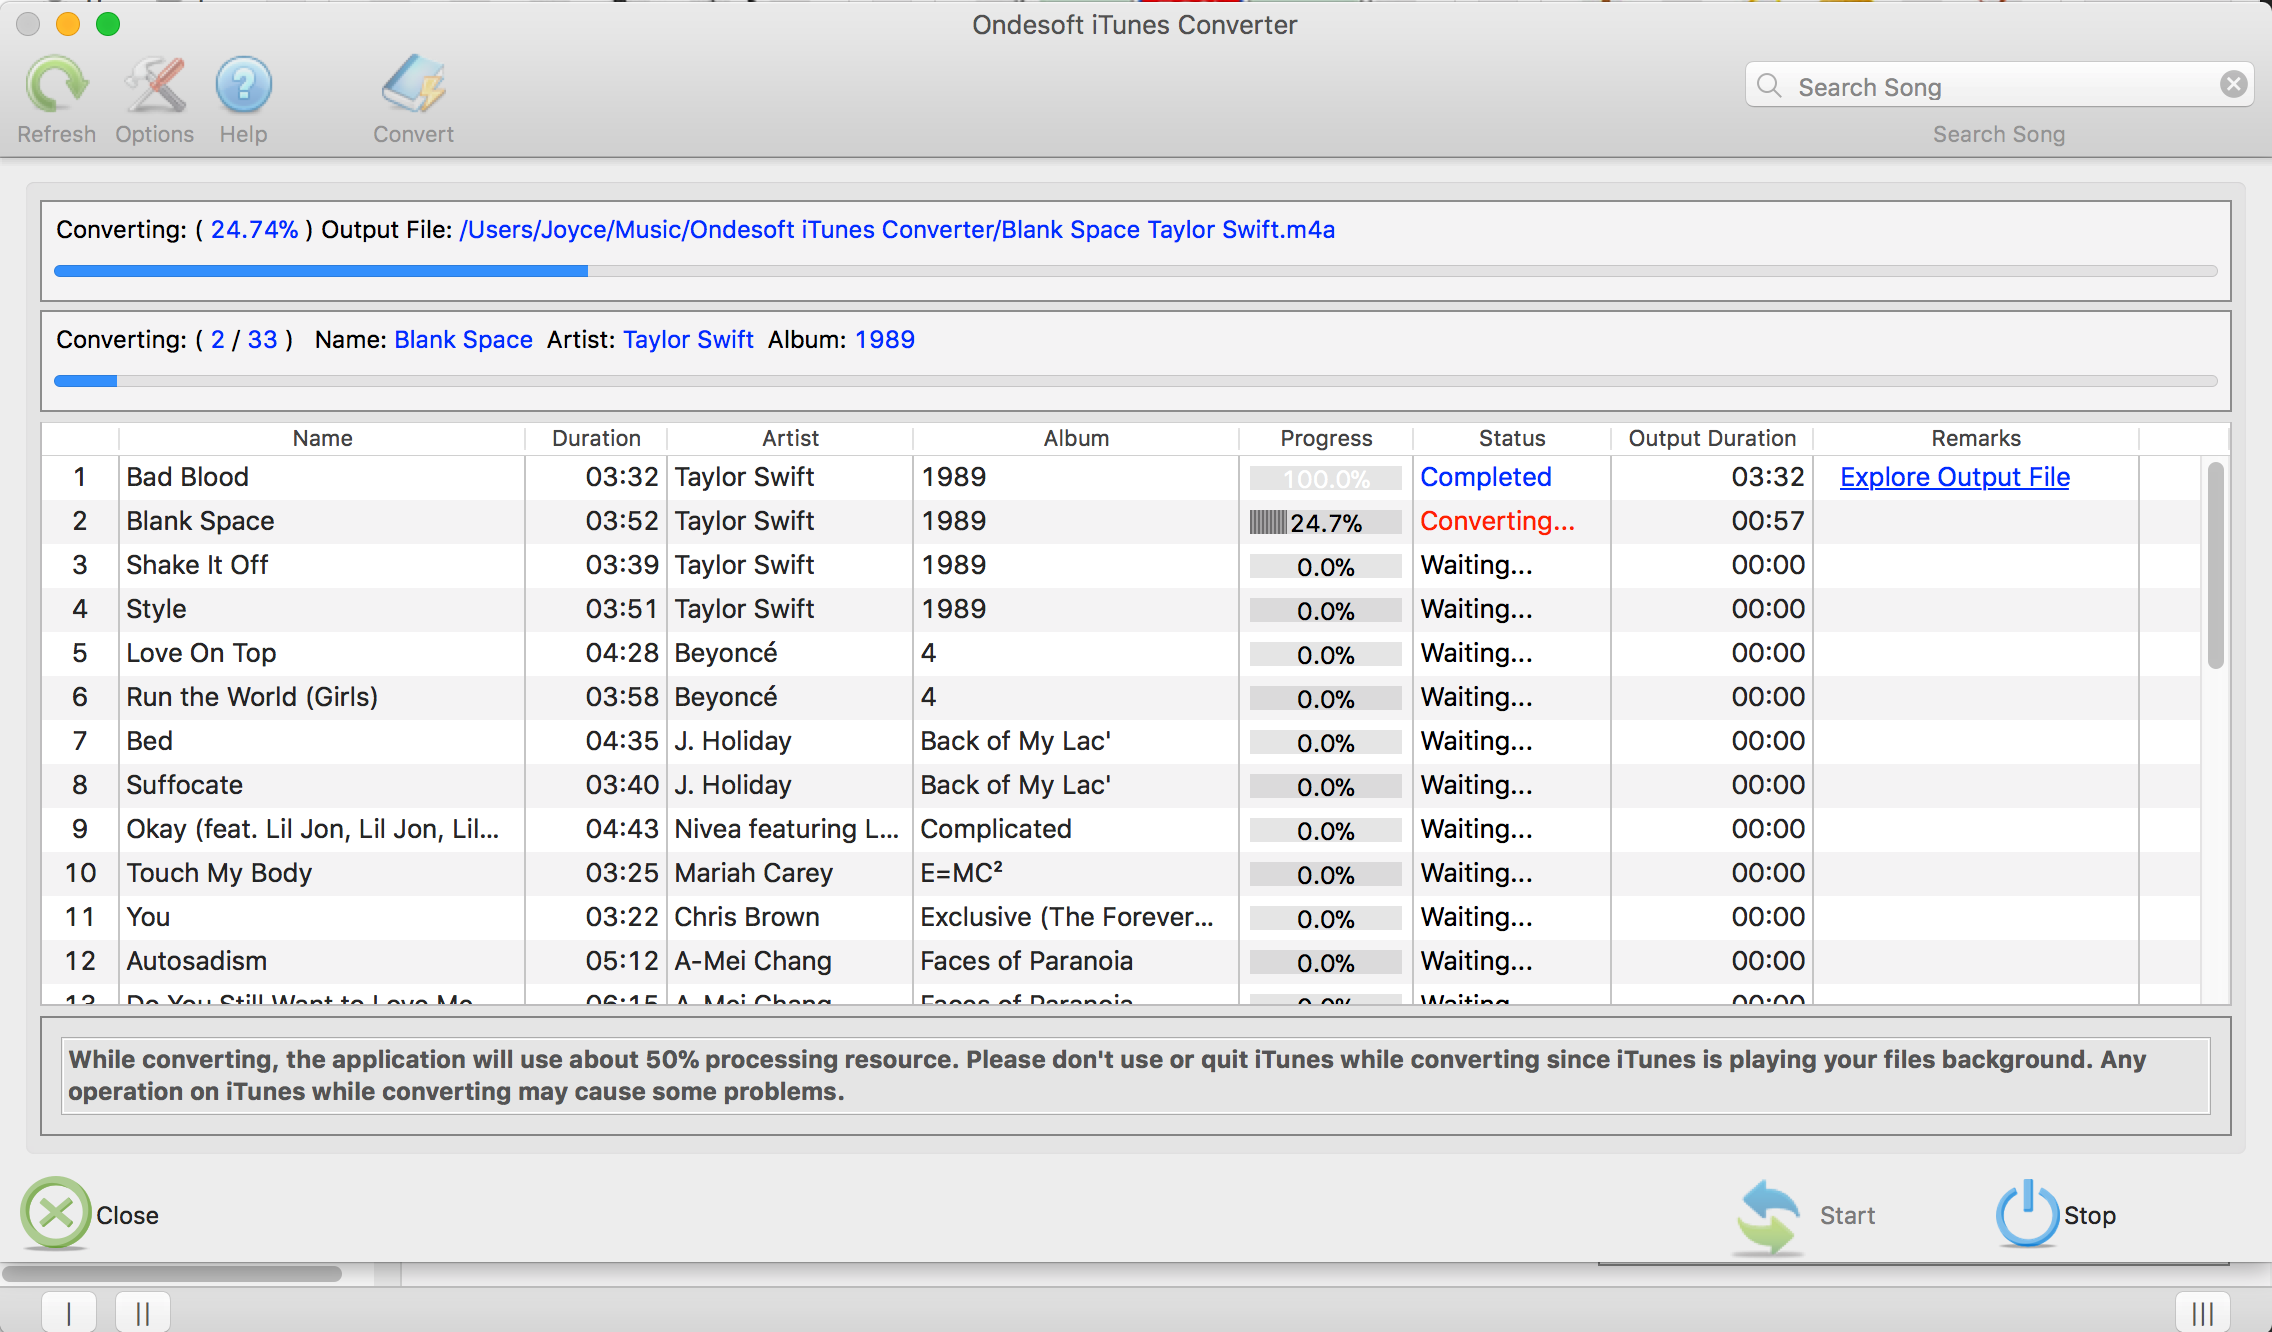
After all is done, click Convert button to start converting DRM protected M4P to MP3 at up to 16X speed. Click Explore Output File to quickly open output folder and locate the DRM-free MP3 song.

Unregistered users can only convert each M4P file for 3 minutes. To remove the limitation, purchase a full version.
Sidebar
Ondesoft iTunes Converter
Ondesoft Tips
More >>- Download Spotify to mp3
- Get Free Spotify Premium
- Play Spotify on Apple Watch without iPhone
- Top 7 Spotify Visualizer
- Spotify Playlist Downloader
- Watch iTunes Movies on TV
- Free Spotify to MP3 Converter
- How to convert iTunes AAC Audio File to MP3?
- How to convert Audible Audiobook to mp3 on Mac?
- How to convert DRM M4B to mp3 on Mac?
- How to convert DRM M4P to mp3 on Mac?
- How to convert drm iTunes music to mp3, aac on Mac?
- How to convert iTunes M4P/M4B/M4A to MP3?
- How to remove DRM from iTunes music?


