How to edit the screenshots?
Editing is another important function of this Mac screen capture utility. You can edit with some handy tools like drawing attention with arrows and colorful shapes, adding textual comments and etc. Pencil editor is also supported. The following step is an example how to edit a captured screenshot with editor.
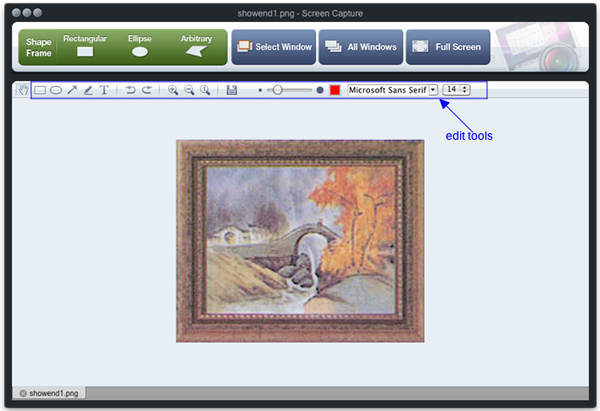
After you capture frame region, you can see the edit tools in the capture panel as below. So you don’t have to open a new window.
Add text annotation on the image
1). Firstly, you can use default text style or set text style as you like.
2). Click on the text tool
3). Click any place on the image and you will see a text box. Then you can enter the text annotation you need.
Add an arrow to your image:
1). Click on the Arrow tool
2). Click on the image and an arrow line will appear.
3). Then you can change the size, location and direction of the line.
Add outlines, rectangular, ellipse, highlights, etc.
1). Click on the relevant tool
2). Click on the image and outline will appear.
3). Then you can change size and location of the line. If necessary, you can “Undo” last action you performed by
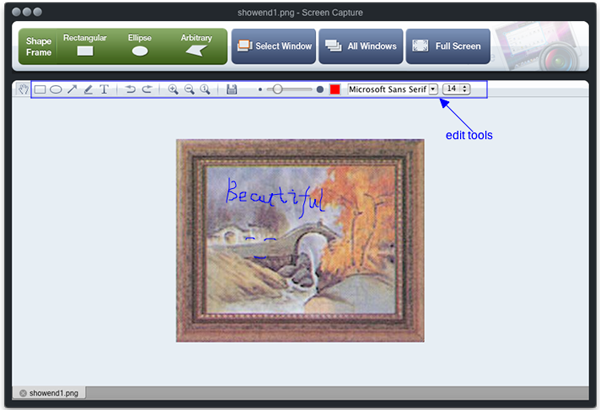
Freehand drawing on your image
1). Click on pencil tool
2). Click any place on the image and draw a shape, write text or highlight some regions on the capture images as you like.
3). If necessary, you can click “Undo”
Screen Capture

Take A Screen Shot: Any Way You Want.