How to capture application window with Ondesoft Screen Capture for Mac?
How to use screen capture? It's easy! Here is a step-by-step tutorial for your reference.
1-1.
Download and install screen capture for Mac, run it on your Mac.
1-2.
Open the window that you want to capture on Mac and then click

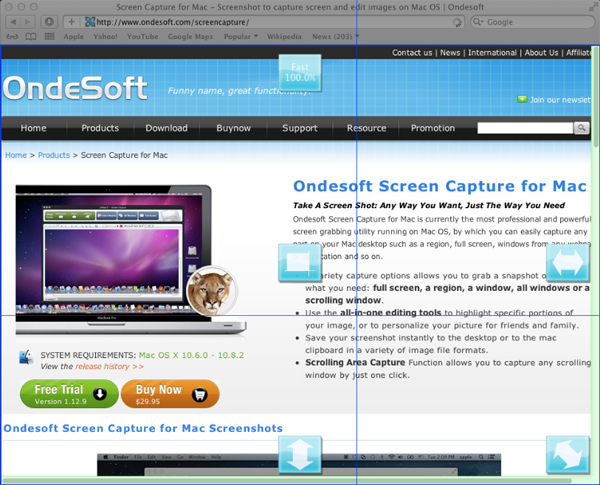
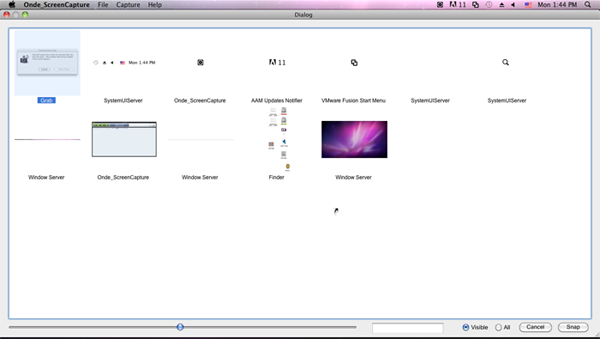
1-3. Move the cursor to the window you want to capture. The selected window becomes bright and surrounded by blue lines while the rest is dim. Then click the selected window, and you will get the screenshot.

For scrolling window you want to capture, arrow appears within the window. Press relevant arrow to Capture Horizontal Scrolling Area, Capture Vertical Scrolling Area, Capture Entire Scrolling Area or Set Scrolling Speed . Press Capture Current Selected Area to grab the area you can see other than the entire window.


Tips: To capture all windows, just click


1-4. Preview the captured window at capture panel and edit with some handy tools like drawing attention with arrows and colorful shapes, adding textual comments and etc. Pencil editor is also supported.
1-5. Then preview the modified screen shots, you can save it to the default path or the output file which you select.
Hotkeys
- Capture rectangular: Alt+Command+R
- Capture ellipse: Alt+Command+E
- Capture arbitrary: Alt+Command+A
- Capture selected Window: Alt+Command+W
- Capture all windows: Alt+Command+L
- Capture full screen: Alt+Command+S
- Capture full screen with countdown timer: Alt+Command+T
- Show full screen: Alt+Command+V
- Esc: Exit capturing.
Sidebar
Related Links
Useful Tips
More >>- How to capture screenshot on Mac?
- How to grab and edit photo on Mac?
- How to use Image ripper rip images like imagefap on mac?
- How to Print Screenshot on Mac?
- How to capture a rectangle screenshot on Mac?
- How to grab ellipse and edit screenshot on Mac?
- How to take screenshot of freehand region on Mac?
- How to capture active window on Mac?
- How to take full screen capture/screenshot on mac?
- Screenshot Grabber and Editor on Mac


